How to Migrate from WooCommerce to Shopify: Step-by-Step
- ECommerce
- Migration
- SEO
Launched
April, 2025
Switching from WooCommerce to Shopify can feel overwhelming, but it doesn’t have to be. Here’s a quick summary of how to make the transition smooth:
- Backup Your WooCommerce Store: Use tools like UpdraftPlus or manual methods to safeguard your data.
- Export Data: Export product details, customer info, and order history using WooCommerce’s built-in CSV tool or third-party services like Cart2Cart.
- Set Up Shopify: Create your Shopify store, configure payment gateways, set up taxes for the U.S., and ensure your domain and SSL are ready.
- Import Data: Use Shopify’s import tool to upload your WooCommerce data. Double-check product details, images, and SEO settings.
- Test Your Store: Simulate orders, verify checkout processes, and ensure everything works as expected.
- Preserve SEO: Set up 301 redirects for old URLs and transfer meta titles, descriptions, and alt text to maintain search rankings.
Pro Tip: Use Shopify’s built-in tools and third-party apps to simplify the process, or hire a migration service like Grumspot for professional help.
Migration Planning
Store Data Review
Take stock of all your WooCommerce data to ensure nothing gets lost during the migration process.
Here’s what to catalog:
- Product details: Titles, descriptions, variants, and pricing (in USD)
- Customer information: Profiles and purchase history
- Order data: Records and transaction details
- Feedback: Product reviews and ratings
- Content: Blog posts and static pages
Before making any changes, make sure to back up your store.
Backup WooCommerce Store
-
Automated Backup with UpdraftPlus
Install the UpdraftPlus plugin. Schedule hourly backups and store them on platforms like Google Drive or Dropbox. Be sure to include both files and the database. -
Manual Backup
For added security, manually back up your store:- Use FTP software like FileZilla to download all WordPress files.
- Export your database through phpMyAdmin.
- Save the entire
wp-contentfolder.
Configure Shopify Store Basics

Set up the essentials in Shopify before importing your WooCommerce data:
- Sign up for a Shopify account and fill in your store details.
- Establish product-listing and transaction guidelines.
- Set up or connect your domain, adjust DNS settings, and enable SSL.
Once these steps are complete, you're ready to begin transferring your WooCommerce data to Shopify.
How to Migrate from WooCommerce to Shopify in 3 Simple ...
WooCommerce Data Export
After backing up your store, the next step is exporting your WooCommerce data. This ensures all your product details are properly transferred to Shopify.
How to Export Product Data
WooCommerce offers a built-in CSV export tool. Here’s how to use it:
- In your WordPress dashboard, navigate to Products > All Products.
- Click Export, then choose All columns, All types and categories, and enable the Export Custom Meta option.
- Click Generate CSV. Open the file in a spreadsheet editor to verify the data. Make sure it includes fields like SKU, Name, Regular Price (e.g., 24.99), Sale Price (if applicable), and Stock Quantity.
You can follow a similar process to export customer data.
Additional Export Tools
For a more automated solution, tools like Cart2Cart can handle exporting products, customers, orders, and reviews. Pricing depends on the number of records you’re transferring.
Shopify Data Import
Start by uploading your exported CSV files to Shopify to rebuild your store.
How to Use Shopify's Import Tool
In your Shopify admin, navigate to Products > Import. Upload each CSV file (up to 15 MB). Make sure to uncheck the option for 'Publish new products to all sales channels' if you want to review items before making them live. If you're updating existing URLs, select 'Overwrite products with matching handles.' Once everything is set, click Upload and Import. Shopify will send you a confirmation email when the process is complete.
Steps to Verify Your Data
After importing, double-check the following:
- Prices, SKUs, weights, inventory levels, descriptions, images, and variant options
- Recreate collections to match your categories and assign products to the appropriate sales channels
- Check meta descriptions and SEO settings
- Ensure products are visible and published to the correct channels
- Add any missing images or variants directly in the Shopify admin
Pro Tip: Turn off new order notifications before importing historical orders. This prevents customers from receiving emails about old orders. Don’t forget to turn notifications back on once the import is done.
Once your products are ready, proceed to import customers and orders.
sbb-itb-db4b75e
Store Setup After Migration
Payment Setup
To set up payments, go to Settings > Payments and enable Shopify Payments. This option supports major credit cards and includes built-in fraud protection.
For added convenience, integrate PayPal and Amazon Pay to offer wallet and one-click checkout options.
Don't forget to configure US sales tax to ensure compliance with tax regulations.
US Tax Setup
Set up US sales tax by navigating to Settings > Taxes and duties.
-
Register for Sales Tax
Determine where you have tax obligations based on economic nexus. Register for sales tax IDs in all required states. -
Configure Tax Settings
Enter your sales tax IDs and set appropriate rates for each state. Be sure to include shipping tax rules for states like California, Florida, and Illinois.
"Shopify helps to automate charging sales taxes. Shopify doesn't remit or file them unless you use Shopify Tax and set up automated filing."
Store Testing Process
After setting up taxes, test your store to ensure everything works seamlessly.
Testing Checklist:
- Checkout Flow: Confirm payment, shipping, and tax settings are functioning.
- Inventory: Verify stock updates, variant tracking, and low-stock alerts.
- User Experience: Test mobile responsiveness, load times, and navigation.
- Order Processing: Check confirmation emails and shipping label generation.
"By placing a test order, you can make sure that your settings for the following parts of your store are working correctly: checkout process, order processing, inventory, shipping, taxes."
Additional Tips:
- Turn off auto-fulfillment apps during testing to avoid shipping label charges.
- Use Shopify Payments test mode or the Bogus Gateway to simulate transactions.
- Cancel and delete test orders afterward to keep your order history clean.
SEO and Store Function Protection
Preserving your SEO and core store functionality is critical for maintaining traffic and user trust during migration.
URL Redirect Setup
To keep your search rankings intact, set up proper 301 redirects. Shopify's built-in URL redirects tool makes this easier. You can either create individual redirects directly in the admin panel or bulk upload a CSV file mapping your old WooCommerce URLs to the new Shopify ones.
"According to Moz.com, a 301 redirect passes between 90-99% of link juice (also known as ranking power) to the page that has been redirected."
Here’s how to handle redirects effectively:
- Use an SEO crawler to export all URLs from your WooCommerce store.
- Map each old URL to the corresponding Shopify URL.
- Upload the CSV file or manually add redirects in Shopify.
- Test each redirect by entering the old URL in a browser before making the changes live.
Note: Shopify restricts redirects on specific system paths like /apps, /cart, /orders, and /shop. Avoid using these paths for your redirects.
Once your redirects are in place, the next step is transferring and verifying your SEO data.
SEO Data Transfer
To maintain your search visibility, ensure all critical SEO elements are migrated from WooCommerce. Tools like Screaming Frog or SEMrush can help you crawl your site and gather this data.
Key SEO elements to transfer:
- Meta titles and descriptions
- Header tags (H1, H2, H3)
- Image alt text
- Canonical tags
- Internal link structure
Post-migration SEO checklist:
- Confirm that meta titles, descriptions, and canonical tags match your original data.
- Ensure header tag hierarchy is preserved.
- Test internal links to identify and fix any broken connections.
- Use Google Search Console to monitor for crawl errors and address them quickly.
Pro tip: After migration, use Google Search Console to identify and fix any 404 errors. This helps ensure a smooth experience for both users and search engines.
Problem Solving Guide
After importing and setting up your store, follow these steps to troubleshoot any errors you might face.
Fixing Data Errors
Most import issues stem from mismatched fields. Use this mapping to correctly align WooCommerce data with Shopify:
- Name → Title
- Description → Body (HTML)
- SKU → Variant SKU
- Weight (lbs) → Variant Grams
- Regular price → Variant price
- Stock → Variant Inventory Qty
Here are some common fixes:
- Unpublished products: Make sure sales channels are enabled in Shopify.
- Missing details: Fill in all variant and metadata fields.
- Customer data issues: Adjust billing and shipping columns in your CSV to match Shopify's format.
- Test imports: Use Matrixify's Dry run feature to catch errors before doing a live import.
Fixing Media and Link Issues
- Use browser dev tools or audit tools to find broken media.
- Check if files exist, verify correct path syntax (slashes, capitalization), and ensure HTTPS is used.
- Fix typos in filenames or extensions, and adjust file permissions if needed.
- Use absolute URLs and avoid linking to external sources.
- Replace missing or corrupted files directly in Shopify's Files section.
Grumspot Migration Services
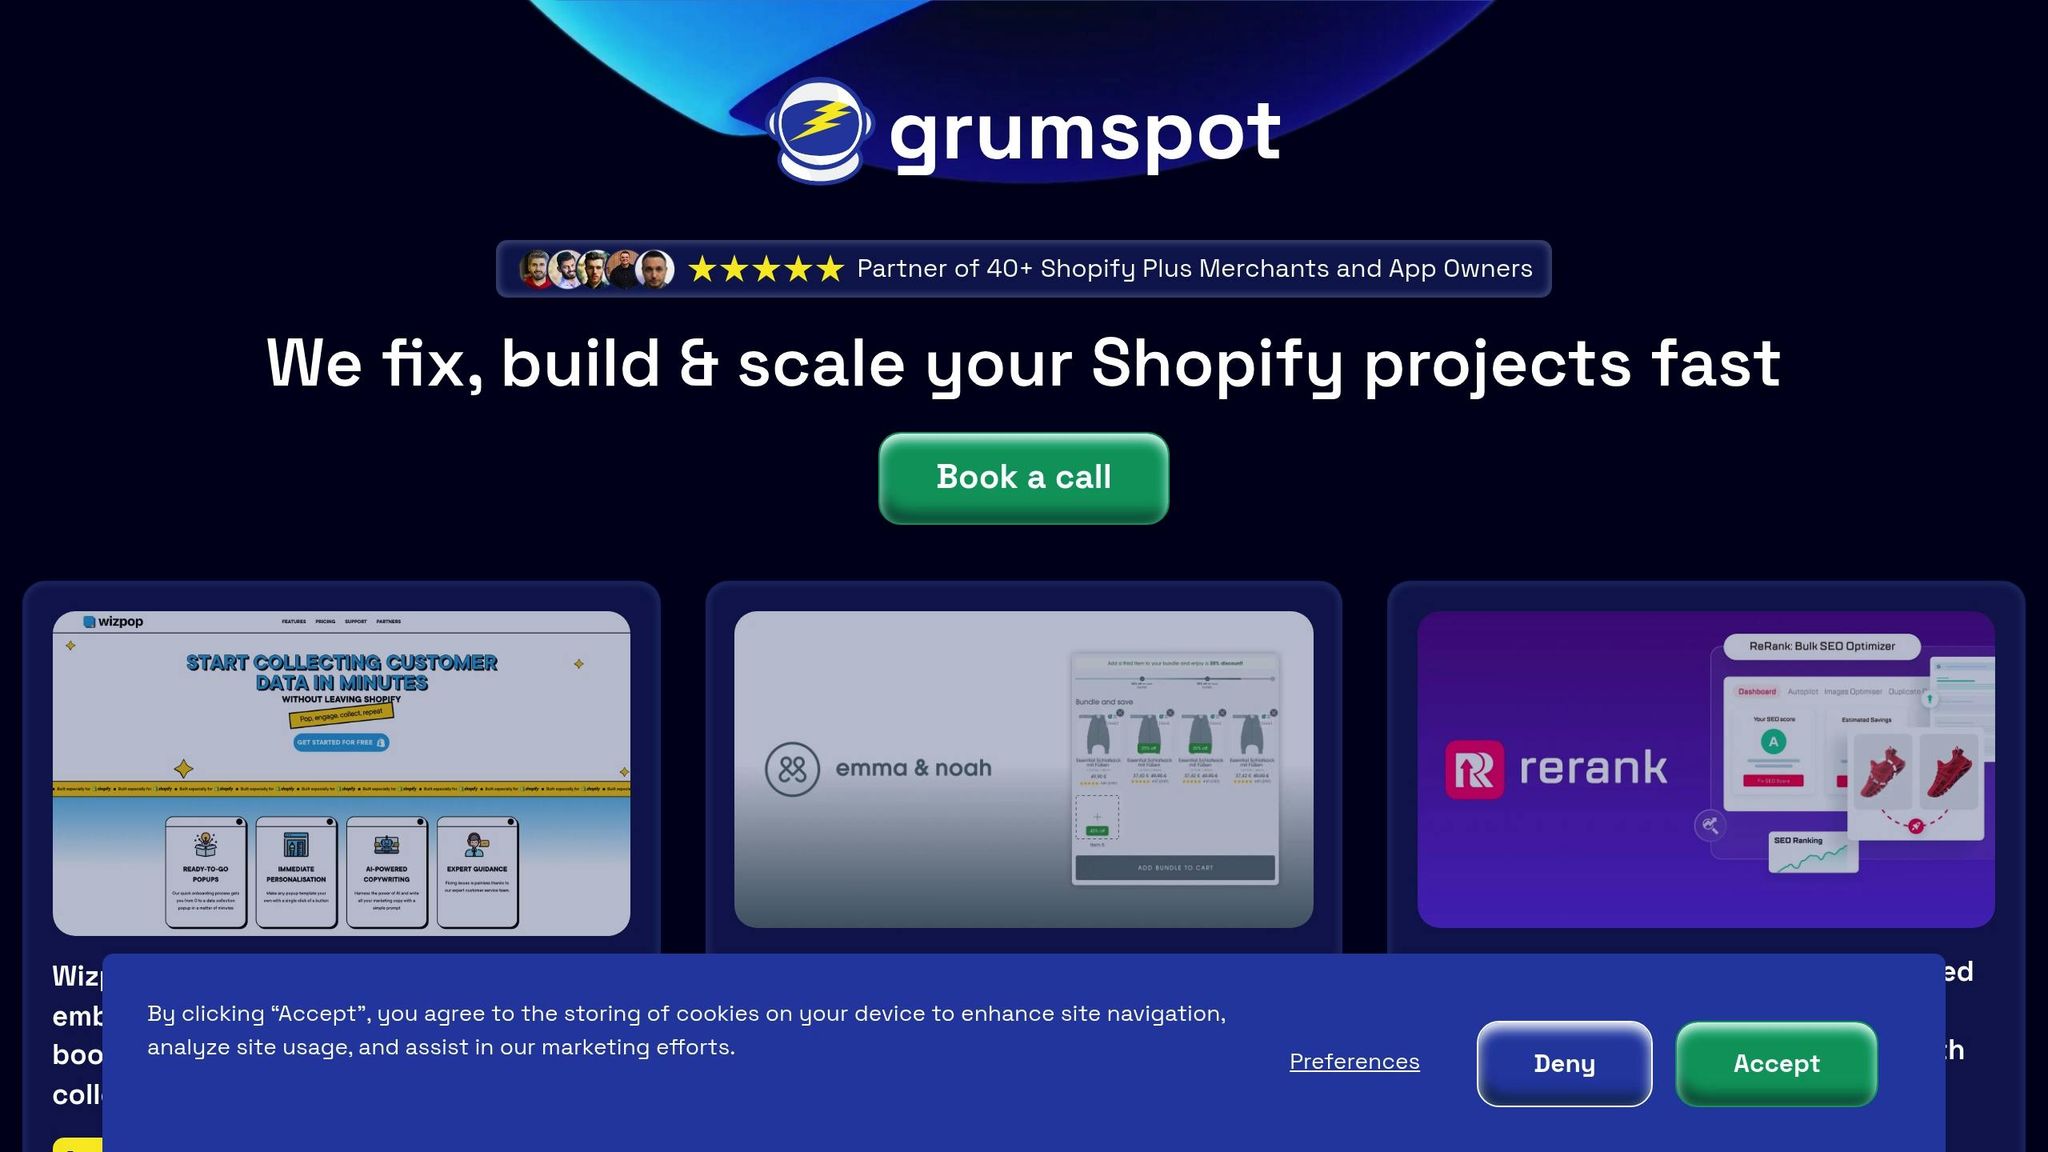
Grumspot takes care of complex WooCommerce-to-Shopify migrations, letting you concentrate on running your business. Our team resolves common issues and ensures a smooth transition.
If you'd rather leave the heavy lifting to professionals, Grumspot offers a range of service plans to fit your needs.
Grumspot Service Options
- Stellar Retainer – $1,990/month: Includes task execution, ongoing updates, priority support, API integrations, UX/UI design, and theme customization.
- Full Design & Development – $8,990: Covers advanced UI design, UX optimization, API integrations, thorough testing, custom development, and complete store setup.
Why Choose Grumspot?
Grumspot's founders, Delyan Peev and Tsvetan Dimitrov, bring hands-on expertise in API integration, custom development, and post-launch support. They ensure your store maintains full functionality while taking full advantage of Shopify's features.
Next, check out our final migration checklist to prepare for a smooth launch.
Conclusion
Here's a quick checklist to ensure everything is ready before launching your Shopify store:
Migration Checklist
-
Complete Data Backup
Make sure to back up your entire WooCommerce store, including images, assets, customer and order histories, and URL structures. -
Technical Configuration
Set up 301 redirects for all product and category URLs to maintain SEO and ensure a smooth transition for your customers. -
Post-Migration Verification
Test customer account access and ensure everything works as expected.
While self-migration can work for straightforward stores, more complex setups often benefit from expert help. Consider Grumspot's Stellar Retainer or Full Design & Development package for comprehensive support.
Let's build something together
If you like what you saw, let's jump on a quick call and discuss your project

Related posts
Check out some similar posts.
- Development
Learn how to tackle common performance issues in your Shopify store to enhance speed, improve user e...
Read more
- ECommerce
Improve your Shopify store's speed with essential optimization techniques, including theme selection...
Read more
- Development
Explore essential Shopify apps that can significantly boost your store's conversion rates and enhanc...
Read more
- Development
Explore top CRM solutions for enhancing customer relationships and boosting sales in Shopify Plus st...
Read more